Parse JSON from POST request in GoLang

We will be using the “net/http” package to retrive a POST request and parse its data.

First of all let’s create a go file, call it main.go.

In it, under the Main function, add the following code to serve the application on localhost:3000:8080, and also add the HandleFunc code which will handle any incoming requests to the URL localhost/3000:8080/create endpoint. We don’t have a createhandler function yet, but we will create one.

	http.HandleFunc("/create", createhandler)
	log.Fatal(http.ListenAndServe(":8080", nil))

Now create a new function called createhandler

func createhandler(w http.ResponseWriter, r *http.Request) {
	w.Header().Set("Content-Type", "application/json; charset=utf-8")
	w.Header().Set("Access-Control-Allow-Origin", "*")
	w.Header().Set("Access-Control-Allow-Credentials", "true")
	w.Header().Set("Access-Control-Allow-Methods", "GET,HEAD,OPTIONS,POST,PUT")
	w.Header().Set("Access-Control-Allow-Headers", "Access-Control-Allow-Headers, Origin,Accept, X-Requested-With, Content-Type, Access-Control-Request-Method, Access-Control-Request-Headers")
	fmt.Println("we got a POST req")
	body := map[string]interface{}{}
	json.NewDecoder(r.Body).Decode(&body)
	fmt.Println(body["title"])
}

First of all, this is a testing application so I will just open up the server for any incoming requests from any domain so that there is no errors for CORS (Cross-Origin Resource Sharing). I will also set the content type to JSON with application/json, and utf8 encoding. I’ll also allow any method such as GET HEAD OPTIONS POST PUT. Now that’s done, let’s take a look at the interesting things.

To parse a POST request in golang we will first define a variable called body which is of the type map with an empty interface, then we will use the json package to call on the method NewDecoder, where we put in the incoming request body (r.Body), and then decode it into the body variable. Then we can simply play with the map values like body[“title”], assuming your JSON data contains a title field.

To pass data to play with, you could use axios in a javascript/typescript environment like this:

function SendData() {
    axios.post("http://localhost:8080/create",
      { title: "hellooo my title.."}
      ).then((response: any) => {
          // done..
    });
}

Add an animated figure in Flutter

I once was curious how to add a animated figure to my study application, and I was unsure how to do it. Where do you start, adding a gif picture? Well that doesn’t do much, but if it is really a simple thing you can do it that way. What if you have more animations though you want to switch between? Well, things are getting more complicated, but it’s not complicated to add an animation at all in Flutter. The difficult part is to create an actual animation. Let’s see how we can first add an animation.

First of all, let’s create a new project so we start with a clean slate with the command:

flutter create myanimationapp

Great we got that down, now open up your pubspec.yaml file. Add rive to your dependencies. This package might be updated, take the latest here.

rive: ^0.7.22

Then inside your main.dart, let’s add this code:

import 'package:flutter/material.dart';
import 'package:rive/rive.dart';

void main() {
  runApp(const MyApp());
}

class MyApp extends StatelessWidget {
  const MyApp({Key? key}) : super(key: key);

  // This widget is the root of your application.
  @override
  Widget build(BuildContext context) {
    return MaterialApp(
      title: 'FileIdea',
      theme: ThemeData(
        primarySwatch: Colors.blue,
      ),
      home: const MyHomePage(title: 'FileIdea Home Page'),
    );
  }
}

class MyHomePage extends StatefulWidget {
  const MyHomePage({Key? key, required this.title}) : super(key: key);

  final String title;

  @override
  State<MyHomePage> createState() => _MyHomePageState();
}

class _MyHomePageState extends State<MyHomePage> {
  @override
  Widget build(BuildContext context) {
    return Scaffold(
        appBar: AppBar(
          title: Text(widget.title),
        ),
        body: Center(
          child: Column(
            mainAxisAlignment: MainAxisAlignment.center,
            children: const <Widget>[
              Expanded(
                child: Center(
                  child: RiveAnimation.network(
                    'https://cdn.rive.app/animations/vehicles.riv',
                  ),
                ),
              )
            ],
          ),
        ) // This trailing comma makes auto-formatting nicer for build methods.
        );
  }
}

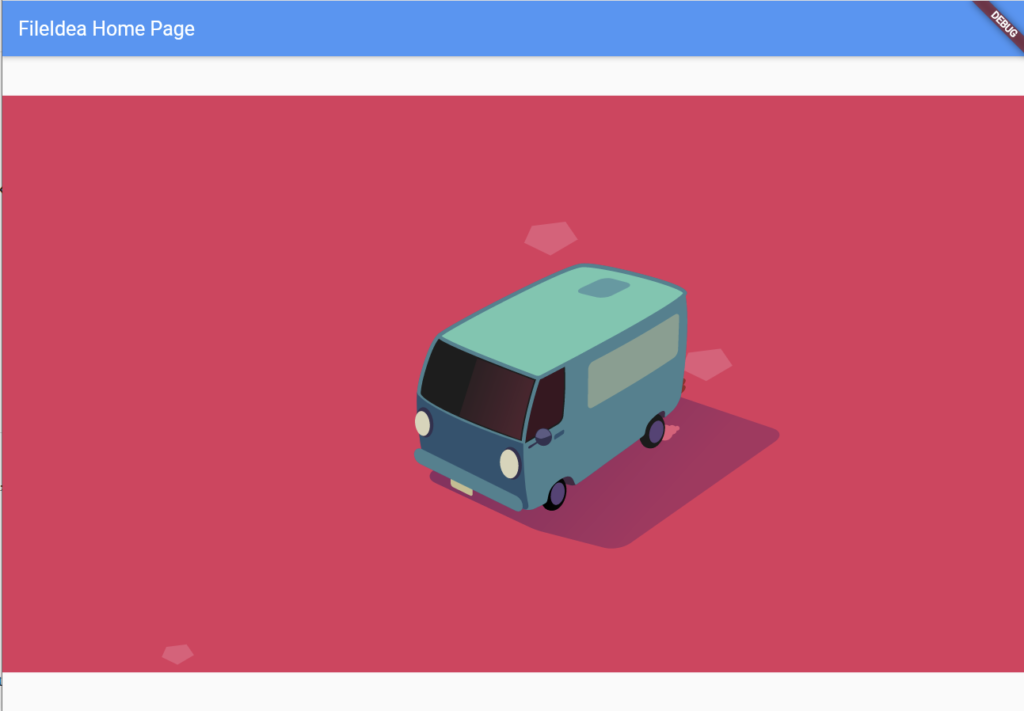
What we are doing here is fetching from the network, hence RiveAnimation.network, and we are getting the rive file which is used for their own demo/sample, and it will be displayed in its full glory:

Flutter animated figure